Wolf - Character Asset
- Kelly Clayton
- Jul 31, 2022
- 2 min read

Updated: Aug 11, 2022
For the wolf asset I started out by collecting references.
Main Body references:


Texture references:

Then based out the main shapes. A sphere for the head, a cube for the snout and 2 more for the ears.

I merged and dynameshed the snout into the head immediately and started building up the forms using the references. I dug out the eyes as a point of reference where everything else sits on the head.

Once I was happy with this, I duplicated the head and ears (so I had a saved version because once you merge objects you can’t unmerge) and merged the ears on, dynameshing the sculpt again. Adding the ears made me realise some wrong proportions such as the distance between the eyes and forehead and the ears being too far apart from each other.
I had this basic sculpt within 1hr 20mins which was pretty good, not thinking too much, just focussing on laying down forms.
From feedback from Luke I pulled the snout into the head more and further towards the eyes.


Currently the mesh looks like this:

---
I continued the sculpt, smoothing down the mesh and adding shapes for the fur.
Eventually getting to a desired shape.

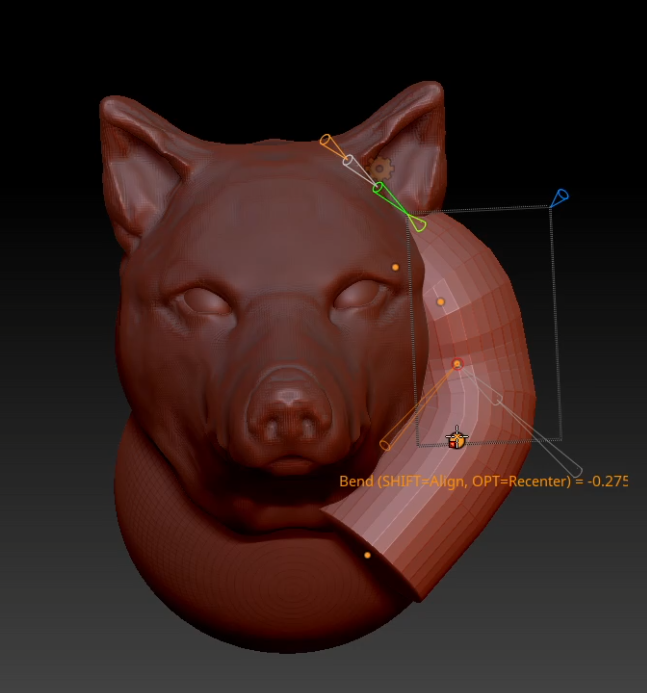
Because I don't need a full body, I just extented the back to where I would need it.

I used Zremsher to create my lowpoly and created the UVs in Maya. I brought it into Painter and baked the high from ZBrush onto the low and started texturing.
I started by laying down some colours and figuring out where I wanted the lighter and darker areas.

Blending them together as I go.

Final Texture:

I left the eyes out because they will be emissive and I make that material directly in Engine.
Wolf in Engine:


Comments