Sol and Mani - Character Assets
- Kelly Clayton
- Aug 14, 2022
- 2 min read

Updated: Aug 18, 2022
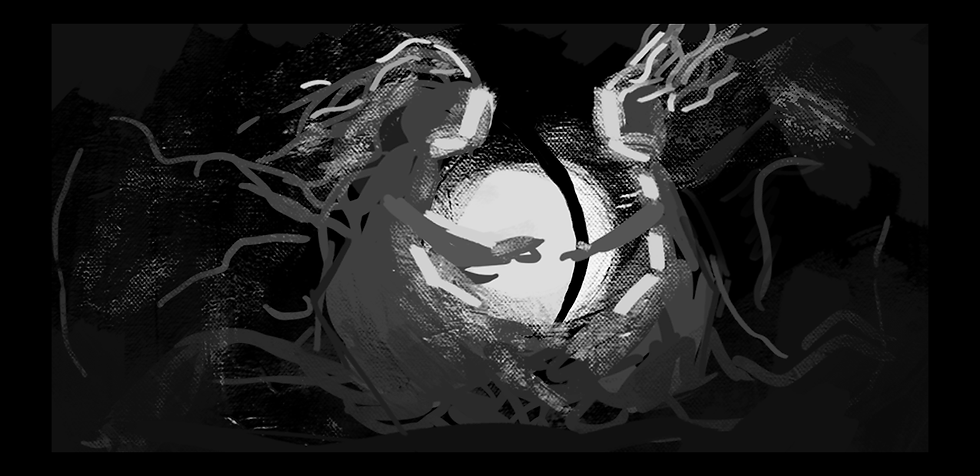
Animatic-
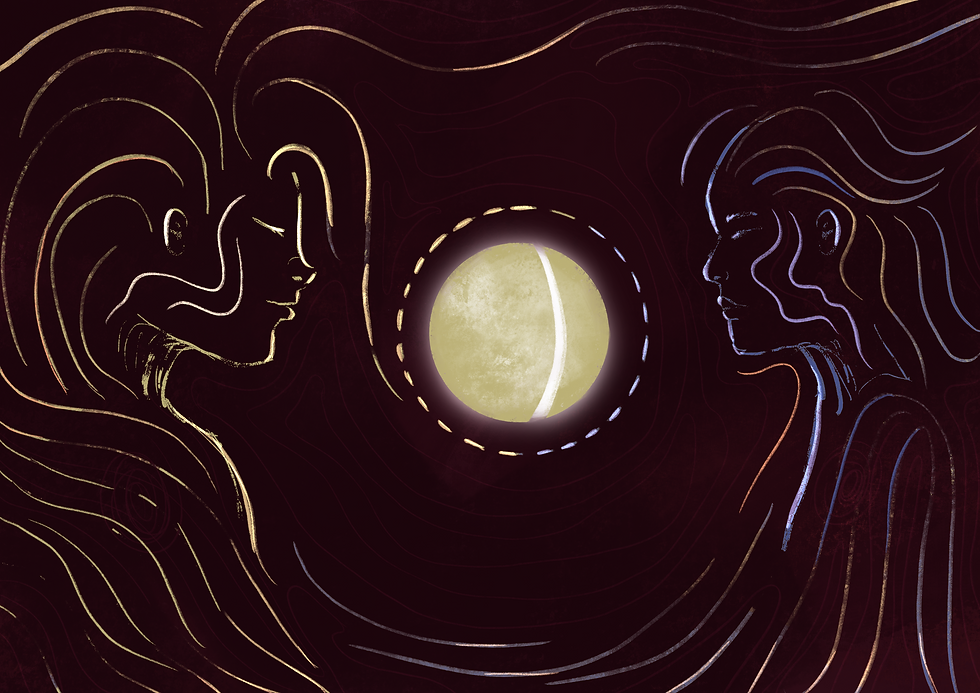
Colour Key -
Sol
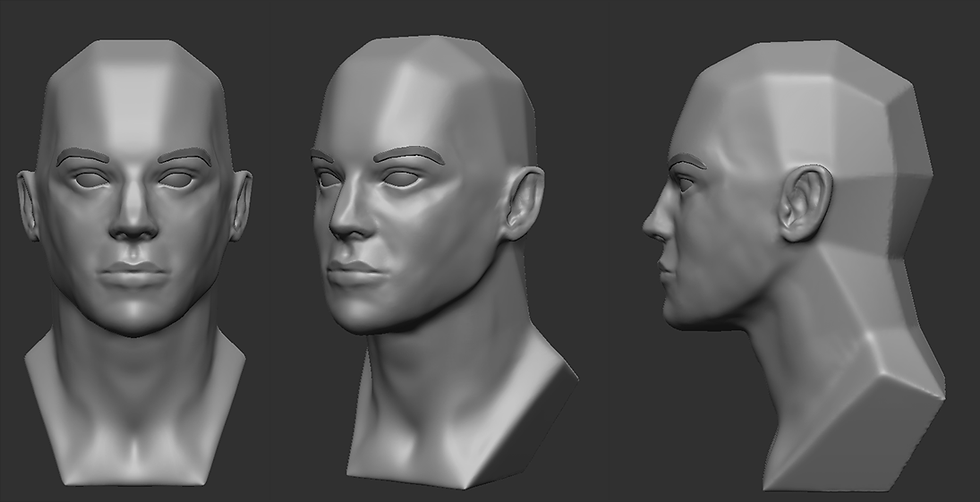
I started sculpting Sol first because I’ve never sculpted a female before. I began with a bust and built shapes out until I was happy with it -

The general plan was to have flowing hair and using geometry and planes for added wispy effects – like this test early this semester.

So, I worked on the hair next. Only half the sculpt will be seen so I worked on that side more. Sol changed sides from left to right because it makes more sense with the narration.

For the body, I performed some surgery to take my female basemesh that I've had since undergrad and attach it onto this mesh.
Before (making sure proportions line up) -

After (+ sculpting)-

I did some baking tests and figured out what would cause me the least amount of trouble. So I decided to bake without the eyes and just add them in later.
As soon as I finished the head and hair texture I took it to engine to see how it would work with the shader and lighting as I painted the face as neutral lit.
Head and Hair Texture (Painter)-

In Engine -

And I figured out that I can manipulate it a lot with the lights.

I didn't like the shape of the mouth so fixed it and textured the rest of the body and reimported the textures in Engine.
Body Textured -

And properly do the lighting -

Mani
Mani started out the same as Sol - with a bust.
Then I preformed a similar surgery of my male bashmesh onto Mani -

Then sculpted it out and added 'wispy' hair again -

After finishing the head and hair texture, I again brought it into engine to see how it was doing and figured out that the face works better the more saturated the texture is.

Head-

Body (Only texturing to where I need it, like I did on Sol too) -

Currently in Engine they look like this -

Because it is a close shot I can keep them in A pose and get away with it.
I wanted to add the eyes back in to be glowing but it looks better without them ¯\_(ツ)_/¯

And I made a plan on how I want to fill out the rest of the background.

---
I used live Boolean to make my sun/moon shape because I prefer the Boolean tools in Zbrush than Maya.

And worked on lighting the characters and added the wisps to them so they blend more with the environment.


Once I had this together, I made a more concrete colour plan to how I should connect this scene to forest.


Comments